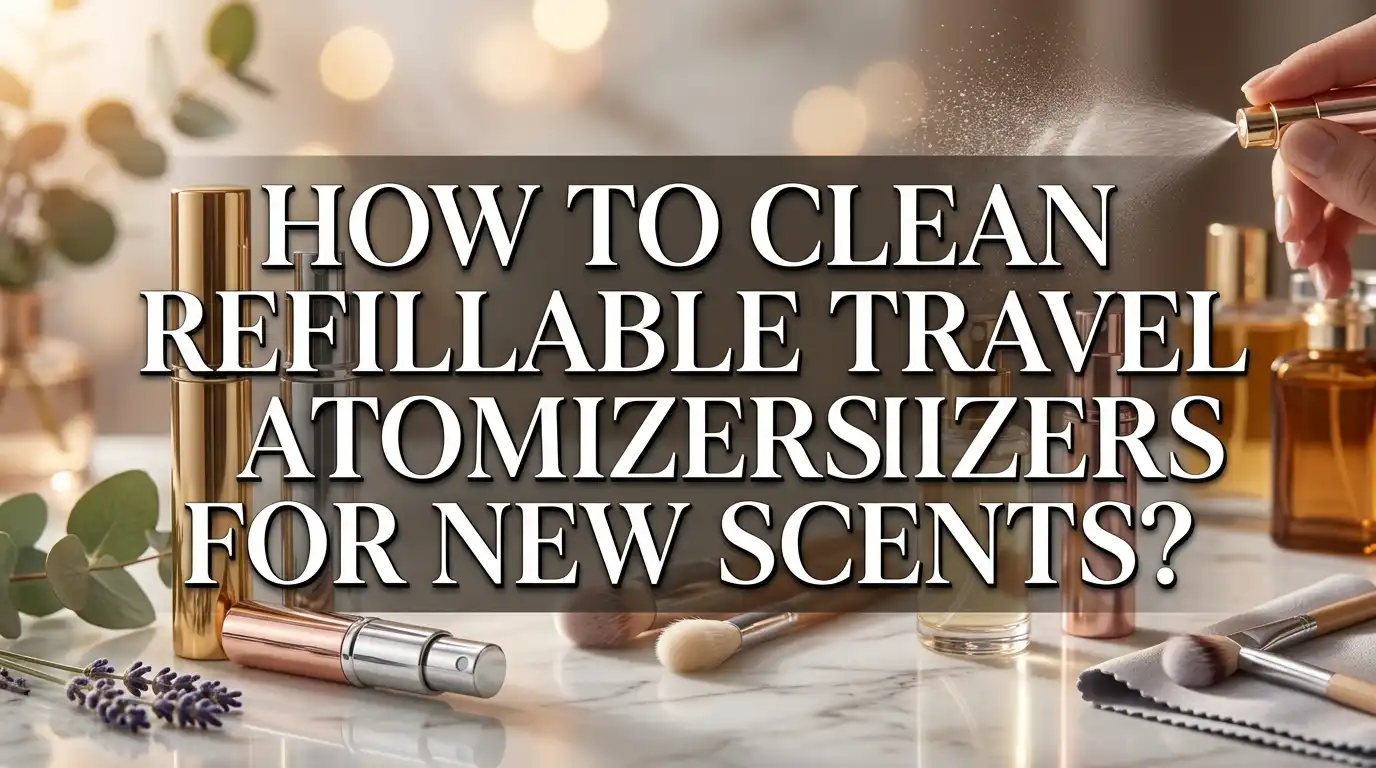
How to Clean Refillable Travel Atomizers for New Scents?
Do you love switching perfumes but hate the mixed scent mess? Your refillable travel atomizer might still smell like yesterday’s fragrance. This happens even after you add a new one.
That leftover smell can ruin your favorite new scent. It creates a strange, muddled fragrance instead of a fresh spray.
The good news is cleaning your atomizer is simple. You just need the right steps and a little patience.
This guide walks you through a proven two stage cleaning method. First, you will learn how hot soapy water breaks down old residue.
By the end, you will know exactly how to get your travel atomizer completely clean. It will be ready for any new scent you want to carry.
Let’s get your atomizer fresh and ready for your next adventure.
In a Nutshell
- Start with soap and water. Fill your atomizer with hot soapy water. Let it sit for several hours to loosen old fragrance residue.
- Rinse it well. Rinse the atomizer thoroughly after the soak. Skipping this step is a common mistake, so take your time here.
- Use rubbing alcohol next. Fill the atomizer with 90% rubbing alcohol. This step removes any scent that soap alone cannot clean.
- Shake it vigorously. Shake the atomizer hard after adding alcohol. Weak shaking leaves fragrance molecules trapped inside.
- Repeat the alcohol step. One cycle is often not enough. Do a second round of alcohol and shaking for a truly fresh start.
- Use a small spray bottle. A travel sized spray bottle makes it easy to add rubbing alcohol into the atomizer.
Why You Should Clean Your Atomizer Before Switching Scents
When you switch fragrances without cleaning your atomizer first, something unpleasant happens. The old scent mixes with your new one. You end up with a confusing blend that doesn’t smell like either fragrance.
Fragrance residue lingers longer than you think. Even after you empty your atomizer, microscopic scent particles stay stuck inside the walls and spray mechanism. These particles hide in places you cannot see or reach easily. When you spray your new fragrance, these old particles blend with it instantly.
Your favorite new scent gets ruined before you even enjoy it properly. A fresh, expensive fragrance becomes something completely different and often unpleasant. The result wastes your money and disappoints you.
Cleaning prevents this problem entirely. A properly cleaned atomizer gives your new fragrance a fresh start. You taste the true scent without interference from old perfume molecules. This means you get the full experience the fragrance was designed to deliver.
The cleaning process also protects your atomizer itself. Old fragrance can leave sticky residue that affects how your spray mechanism works. Over time, this buildup makes the sprayer less effective or causes it to clog. Regular cleaning keeps everything functioning smoothly.
Think of it like washing a glass before pouring new juice. You would not pour fresh juice into a glass that still smells like old orange juice. Your atomizer deserves the same respect. Clean it properly between scents.
This is especially important if you switch between very different fragrances. Moving from a heavy floral to a fresh citrus scent? Clean your atomizer first. Switching from a spicy oriental to a light aquatic? Same rule applies.
Taking just a few minutes to clean your atomizer means your next fragrance smells exactly as intended. You enjoy the scent fully and get better value from your purchase. That makes cleaning absolutely worth your time.
Supplies You’ll Need for a Thorough Cleaning
Getting your supplies ready makes the cleaning process faster and easier. You do not need many items to do this job well.
Hot water and dish soap form the first part of your cleaning kit. Use any regular dish soap you have at home. The soap breaks down fragrance oils that stick to the atomizer walls. Hot water helps the soap work better, so fill your sink or a small bowl with warm water before you start.
Rubbing alcohol is essential for the second cleaning stage. You want 90% isopropyl alcohol for best results. This concentration removes fragrance residue that soap alone cannot handle. Lower alcohol percentages do not work as well because they contain too much water.
A small spray bottle saves you time and mess. Travel sized spray bottles work perfectly for this job. You use them to dispense rubbing alcohol directly into your atomizer without spilling. This beats pouring from a large bottle, which can be clumsy.
You should also gather clean towels or paper towels. These dry your atomizer after each rinse. Lint free cloths work best so you do not leave fibers inside.
A small container or cup holds your atomizer during soaking steps. Glass or ceramic works well. Avoid metal containers since alcohol can react with some metals.
Finally, have clean water nearby for rinsing. You will rinse multiple times throughout the process. Some people use distilled water for the final rinse to prevent mineral spots.
Keep all these supplies in one spot before you begin. This organized approach prevents you from stopping mid clean to hunt for items. Your atomizer cleaning goes smoothly when everything is ready. You finish faster and get better results when your supplies are prepared in advance.
Step-by-Step: The Hot Soapy Water Soak
Fill your atomizer with hot soapy water as your first cleaning step. Use warm tap water and add a few drops of dish soap. The heat helps break down fragrance oils stuck inside the bottle.
Let the soapy water sit in your atomizer for several hours. This soaking time allows the soap to penetrate and loosen stubborn scent particles. You can leave it overnight if needed for extra stubborn residue.
After soaking, rinse the atomizer thoroughly with clean water. Pour water in and shake it around to remove all soap residue. Repeat this rinsing process at least three times to ensure no soap remains inside.
Pay close attention to rinsing completely. Leftover soap can mix with your new fragrance and create an unpleasant smell. Many people skip thorough rinsing and regret it later.
Once rinsing is done, your atomizer is ready for the alcohol stage. The soap and water soak removes most fragrance oils, but alcohol ensures complete cleaning. This two stage approach works far better than using just one method alone.
Shake out any excess water from your atomizer before moving forward. You don’t need it bone dry, but excess water should be gone. A few drops remaining won’t hurt the next cleaning stage.
Let the atomizer air dry for a few minutes if you prefer. This gives you a chance to gather your rubbing alcohol and prepare for stage two. The soap stage is now complete and your atomizer is ready for deeper cleaning.
Remember that this hot soapy water soak is just the beginning. It removes surface level fragrance, but alcohol does the heavy lifting. Together, these two stages guarantee your atomizer is clean enough for a completely fresh scent experience.
Step-by-Step: The Isopropyl Alcohol Rinse
Now that your atomizer has soaked in hot soapy water and been rinsed, the alcohol stage removes any lingering fragrance particles. This step is critical for complete cleaning.
Fill your atomizer with 90% rubbing alcohol. This concentration works best because it evaporates quickly and dissolves fragrance oils effectively. Pour the alcohol directly into your atomizer using a small spray bottle if you have one available.
Let the alcohol sit inside your atomizer. Unlike the soapy water soak that needed several hours, alcohol works faster. Even a 15 to 30 minute soak is helpful, though longer soaking does not hurt.
Now comes the important part: shake vigorously. Hold your atomizer firmly and shake it hard for at least one full minute. This vigorous movement helps the alcohol reach every interior surface and break down any remaining scent residue clinging to the walls.
After shaking, pour out the alcohol. You will likely notice the liquid smells like your old fragrance. This is exactly what you want to see happening.
Repeat this entire alcohol step one more time. Fill with fresh alcohol again, let it soak briefly, and shake vigorously once more. Many people skip this second cycle and regret it later when their new fragrance still smells mixed with the old one.
After your second alcohol rinse, shake out excess liquid from your atomizer. The remaining alcohol will evaporate quickly on its own.
Your atomizer is now completely clean and ready for your new fragrance. The combination of hot soapy water plus two alcohol rinses removes virtually all fragrance particles. This two stage approach ensures your new scent smells pure and true, not contaminated by previous fragrances.
Drying and Storing Your Atomizer Properly
After completing your two stage cleaning process, proper drying and storage keeps your atomizer fresh and ready for its next fragrance.
Air drying is your best option. Shake out excess alcohol from your atomizer completely. Stand it upright on a clean towel or paper towel in a well ventilated area. Let it sit for at least 30 minutes to one hour. This allows all moisture to evaporate naturally without trapping any residual alcohol or water inside.
You can speed up drying by leaving the atomizer cap off during this time. Make sure the spray nozzle points downward so any remaining liquid drips out. Never seal the cap while moisture still remains inside. Trapped moisture creates the perfect environment for mold and mildew growth.
Check for complete dryness before storing. Peek inside the atomizer to confirm no liquid pools at the bottom. Run a clean paper towel through the interior if you spot any moisture. The atomizer should feel completely dry to the touch on the outside as well.
Store your clean atomizer in a cool, dry place away from direct sunlight. A bathroom cabinet, drawer, or closet works perfectly. Keep it upright with the cap secured to prevent dust from entering. If you store it horizontally or upside down, any remaining moisture can settle in the spray mechanism.
Keep your atomizer separate from other products. Store it away from heat sources like radiators or sunny windowsills. Temperature changes can affect the atomizer’s seal and internal components. A dedicated storage container protects it from dust and accidental damage.
Before refilling with your new fragrance, do a quick visual inspection. Look for any cloudiness, particles, or moisture inside. Your atomizer should look crystal clear and completely dry. Only then is it truly ready for your next scent.
Common Mistakes That Leave Scent Residue Behind
Many people rush through the cleaning process and end up with stubborn scent residue that ruins their new fragrance. Understanding these common mistakes helps you avoid them.
Insufficient rinsing after the soap stage is the biggest culprit. You soak your atomizer in hot soapy water, but then you rinse it too quickly or only once. Leftover soap particles cling to the inside walls and spray mechanism. When you add your new fragrance, these soap remnants mix with it and create an off putting smell. Take extra time rinsing with clean water multiple times until you see no bubbles.
Skipping the vigorous shaking step during alcohol soaking wastes your effort. Many people simply pour alcohol into the atomizer and let it sit. This passive approach leaves fragrance molecules trapped in corners and on the spray nozzle. You must shake hard and shake often. The vigorous motion helps alcohol reach every surface and dissolve remaining scent particles.
Doing only one cleaning cycle is another frequent mistake. One round of soap and alcohol simply cannot remove all fragrance residue, especially from strong scents like musk or woody fragrances. These powerful scents bond tightly to the atomizer interior. A second cycle of both soap soaking and alcohol rinsing ensures complete removal. Think of it as a two step process, not a one step fix.
Not letting the atomizer dry completely before refilling causes problems too. Residual moisture mixes with your new fragrance and dilutes it. You end up with a weaker scent than intended. Always confirm the interior is bone dry by checking for liquid pooling at the bottom.
These mistakes seem small, but they directly impact how your new fragrance smells. Taking time to clean properly gives you a fresh start every time you refill your atomizer.
Troubleshooting: When Fragrance Smell Won’t Go Away
When fragrance smell won’t go away, you’re dealing with stubborn residue stuck inside your atomizer. This happens because old scent molecules cling to the plastic and metal surfaces. The good news? You can fix this with the right approach.
The main reason scent lingers is incomplete cleaning during earlier stages. If you skipped vigorous shaking during your alcohol soak, fragrance particles stayed behind. If you only did one cleaning cycle instead of two, residue remained trapped. These small oversights create big problems when you fill your atomizer with new fragrance.
Start fresh by repeating the entire two stage process. Fill your atomizer with hot soapy water and let it soak for several hours. This breaks down old fragrance oils clinging to the interior walls. Rinse thoroughly until you smell only clean water, not the old scent.
Next, move to the alcohol stage. Fill your atomizer with 90% rubbing alcohol. Here’s where many people fail: shake vigorously for at least one minute. Don’t just swish it gently. The vigorous motion helps alcohol reach every corner and dissolve lingering fragrance molecules.
Pour out the alcohol completely. Repeat this entire alcohol fill and shake process one more time. Two cycles work better than one because the second round catches residue the first missed.
After your second alcohol rinse, shake out all excess liquid. Let your atomizer air dry completely with the cap off. Check inside to confirm no liquid pools remain at the bottom.
If stubborn scent still lingers after this process, consider soaking your atomizer in rubbing alcohol overnight. The extended soak time gives the alcohol more opportunity to dissolve deep seated fragrance molecules. This extra step usually solves even the most persistent scent problems.
Final Thoughts
Cleaning your refillable travel atomizer does not need to be hard. With a simple two stage method, you can remove old fragrance completely.
Hot soapy water breaks down sticky residue first. Rubbing alcohol then finishes the job by dissolving what soap leaves behind.
Patience makes all the difference in this process. Rushing through steps often leads to mixed scents later.
Remember that vigorous shaking is not optional. It helps the alcohol reach every corner of your atomizer.
Two full cleaning cycles work better than one. Your nose will thank you when your new fragrance smells pure and true.
Drying matters just as much as cleaning. A damp atomizer can trap alcohol smell or invite unwanted residue buildup.
Give your atomizer plenty of air before you store it away. This small step protects your next fragrance experience.
Storage location also plays a role in keeping your atomizer ready. Cool, dry spots away from sunlight work best.
Avoid common shortcuts like skipping the alcohol rinse. These shortcuts almost always lead to disappointing results.
If old scent still lingers, do not panic. An overnight alcohol soak usually solves even stubborn cases.
Think of this cleaning routine as a small investment. It protects the true scent of every new fragrance you add.
Your atomizer becomes reusable for years with proper care. This saves money and reduces waste over time too.
Clean atomizers mean pure scents every single time. That is the whole goal of this process.
So next time you switch fragrances, follow these steps closely. Your travel atomizer will reward you with true, unspoiled scent every time you spray it.
A little effort now means better fragrance experiences later. Clean thoroughly, dry completely, and enjoy your fresh new scent worry free.
Frequently Asked Questions
How long should I soak my atomizer in hot soapy water?
Let the atomizer sit in hot soapy water for several hours. This gives the soap time to break down fragrance oils stuck to the interior walls. The longer soak works better than a quick rinse. If you have extra time, soaking overnight produces even better results.
Why is vigorous shaking so important during the alcohol stage?
Shaking vigorously helps the rubbing alcohol reach every corner inside your atomizer. The friction and movement dislodge fragrance particles clinging to the spray mechanism and bottle walls. Without aggressive shaking, old scent molecules stay behind and contaminate your new fragrance. Shake hard for at least one minute during each alcohol soak.
Can I use just soap or just alcohol to clean my atomizer?
No. Using only soap leaves alcohol-soluble fragrance residue behind. Using only alcohol skips the initial breakdown of sticky oils. The two stage process works because soap removes oily buildup first, then alcohol eliminates what soap cannot reach. Both steps are necessary for complete cleaning.
What percentage of rubbing alcohol should I use?
Use 90% isopropyl rubbing alcohol for best results. This concentration is strong enough to dissolve fragrance residue effectively. Lower percentages contain more water and clean less efficiently. Check the label on your rubbing alcohol bottle to confirm the strength before you start.
How do I know when my atomizer is completely clean?
Your atomizer is clean when you no longer smell the old fragrance after the final alcohol rinse. Let it dry completely in open air for several hours. Once it’s dry, take a sniff. No scent means you’re ready to refill with your new fragrance.

Hi, I’m Lily! I started this blog to share honest reviews, real comparisons, and helpful guides so you can find your perfect scent without the guesswork. Welcome to my scented world!