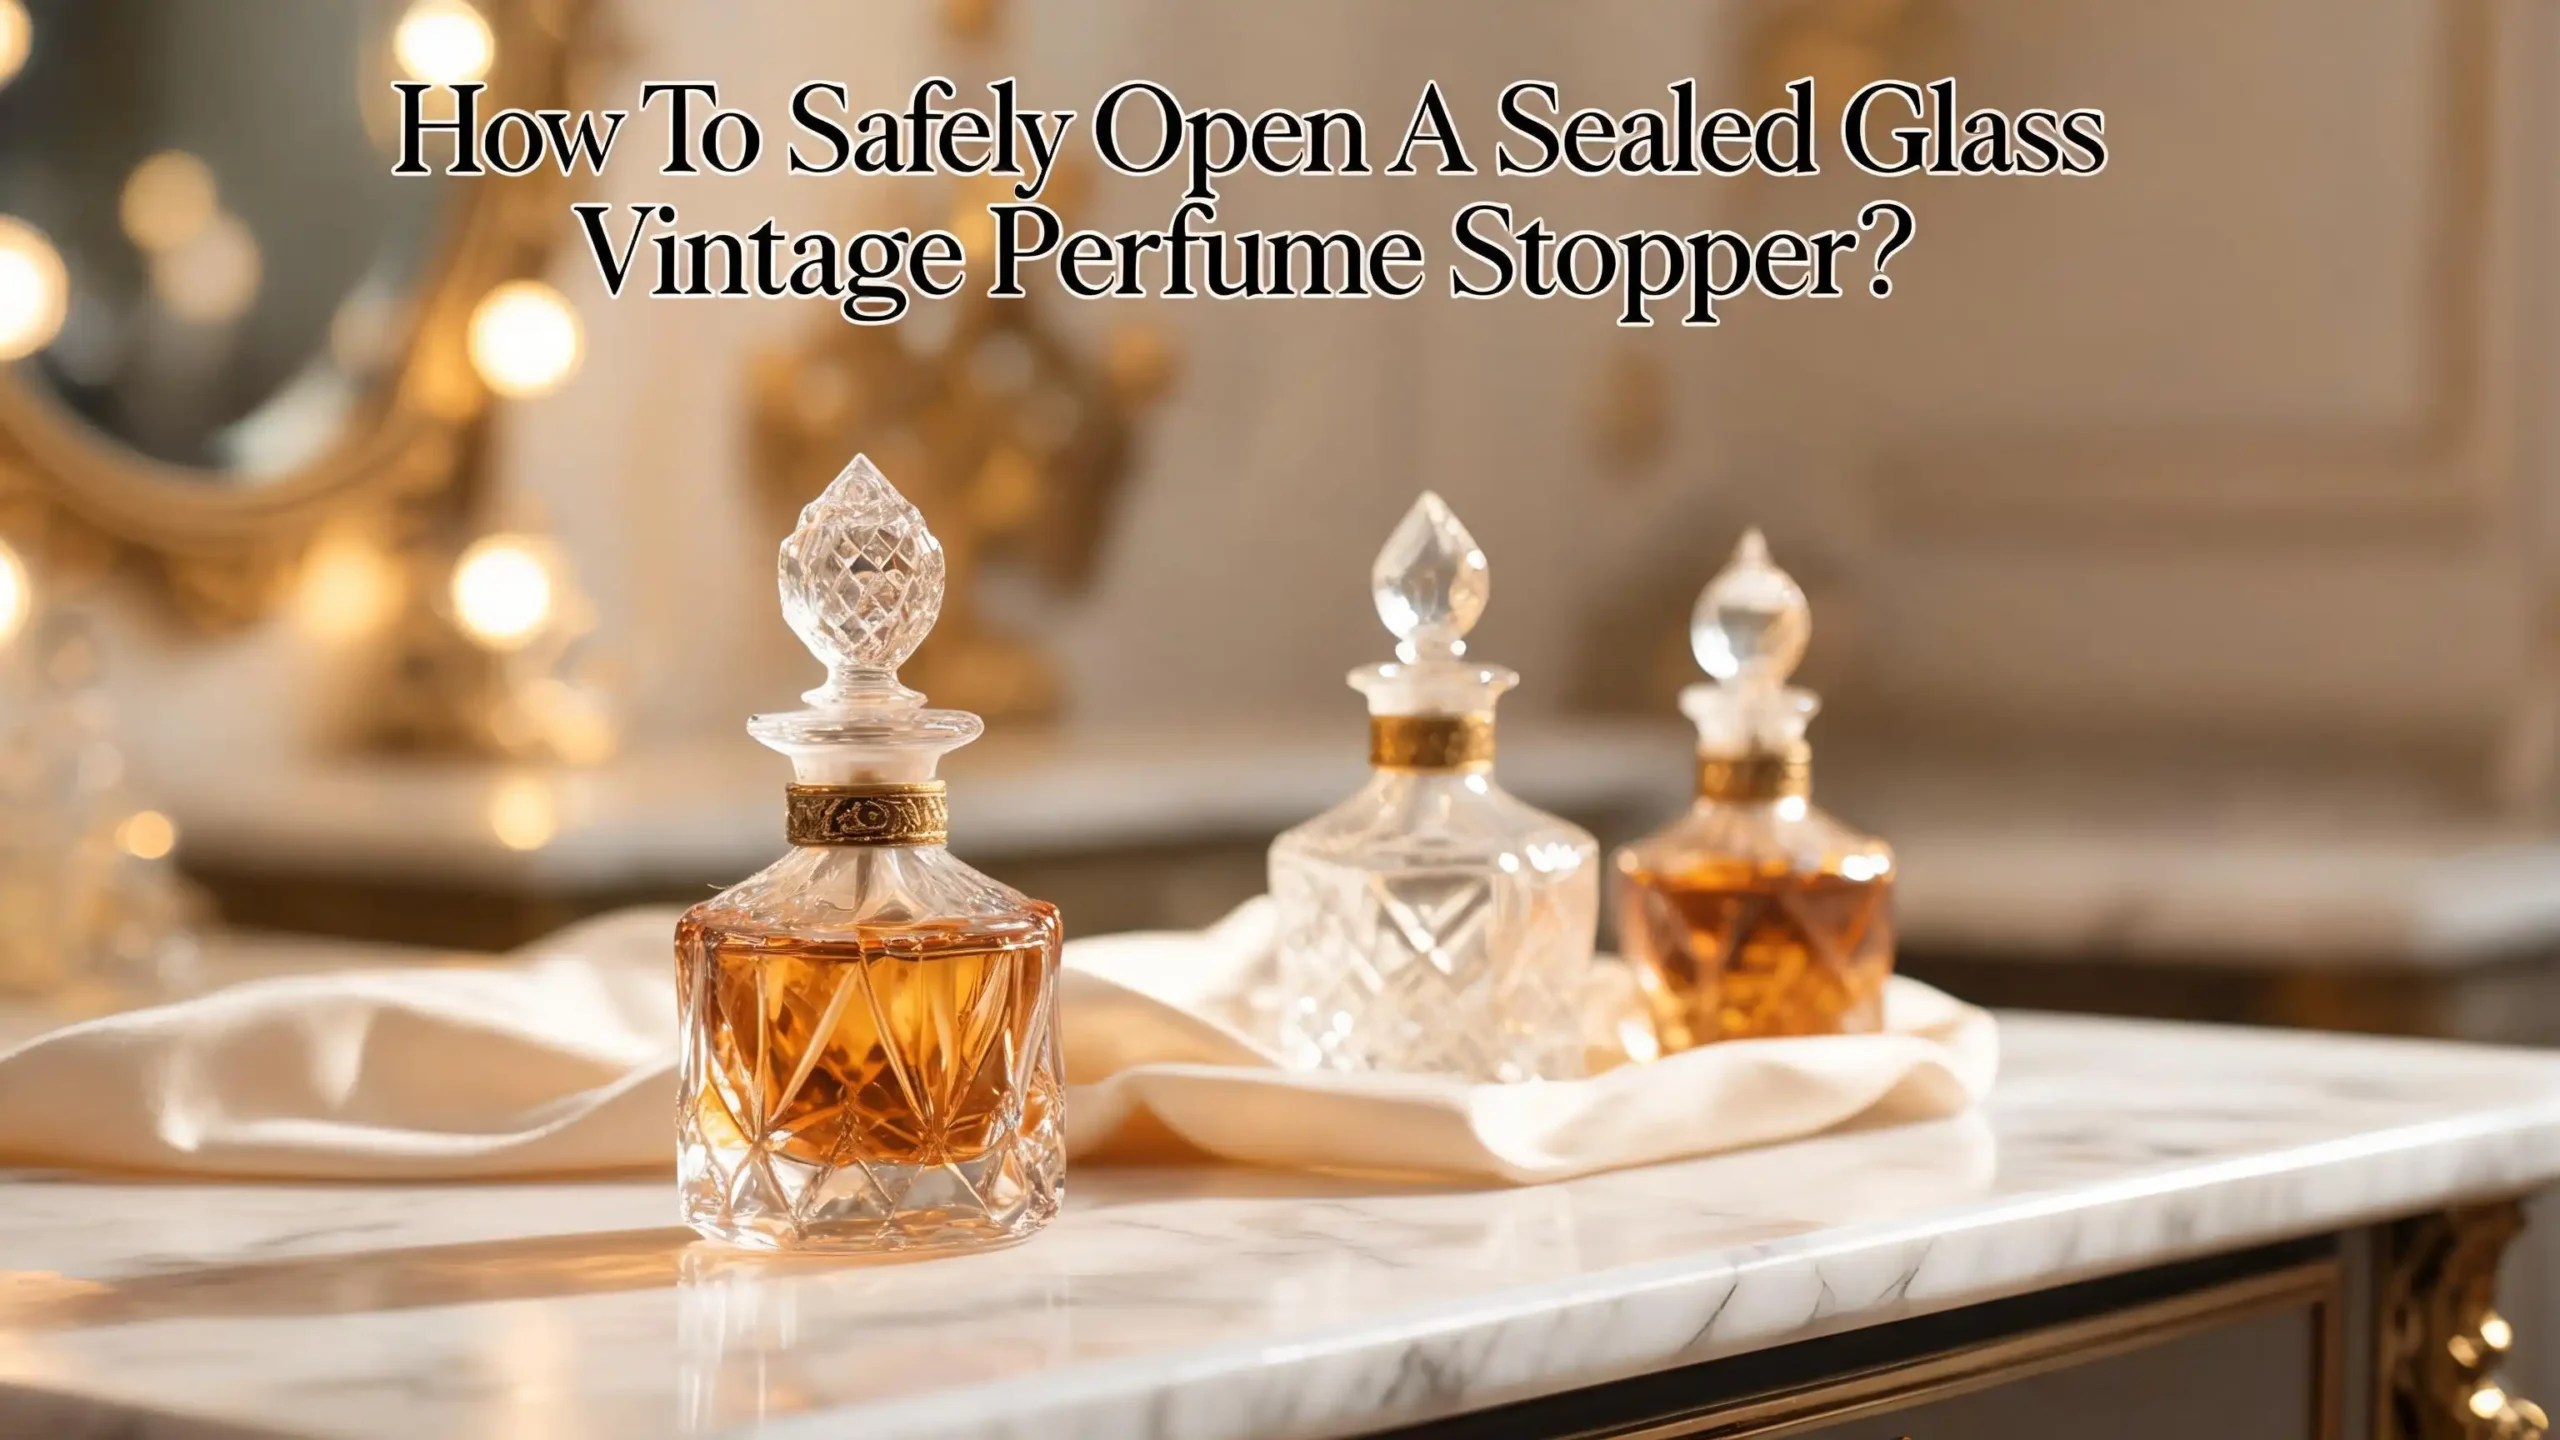
How To Safely Open A Sealed Glass Vintage Perfume Stopper?
You finally found it. That gorgeous vintage perfume bottle you have been searching for, perhaps at a yard sale, an estate auction, or won through a fierce online bidding war. The bottle is beautiful. The fragrance inside could be decades old and perfectly preserved. But there is one problem. The glass stopper will not budge.
This is one of the most common frustrations vintage perfume collectors face. Ground glass stoppers can become completely seized over time, and forcing them can crack the neck, snap the stopper, or ruin the bottle entirely.
The good news? There are several safe, proven methods to free a stuck vintage perfume stopper without causing damage. Collectors, restorers, and perfume lovers around the world have tested these techniques on everything from 1920s Chanel bottles to antique Baccarat crystal flacons.
This guide walks you through the exact reasons your stopper is stuck and gives you clear, step by step methods to open it safely. You will learn which approach fits your specific situation, what tools you need, and which mistakes to avoid at all costs.
Key Takeaways
- Ground glass stoppers get stuck for specific reasons. Dried perfume residue hardens between the stopper and the bottle neck over time, forming a cement like seal. The glass itself can also bond at a microscopic level after decades of contact.
- The freezer and oil method works in about 90% of cases. Apply a small amount of cooking oil or glycerin around the stopper joint, place the bottle in the freezer for 20 to 30 minutes, then gently twist or rock the stopper. This is the safest and most reliable first attempt.
- Never use brute force. Pulling, yanking, or prying too hard will snap the stopper at the neck, leaving a glass plug inside the bottle. This is the most common mistake and often the most expensive one.
- Heat and cold together create the best results. Warming the bottle neck while keeping the stopper cold causes the glass to expand and contract at different rates, which breaks the seal between stopper and bottle.
- Patience matters more than strength. Some stubborn stoppers take days or even weeks of repeated gentle treatment before they release. Professional perfume conservators confirm this is normal for bottles that have never been opened.
- Always have a backup plan. If one method does not work after a few tries, move on to the next one. Combining techniques in the right order gives you the best chance of success without damage.
Why Do Vintage Perfume Glass Stoppers Get Stuck
Understanding why the stopper is stuck helps you choose the right removal method. Ground glass stoppers are made by grinding two glass surfaces together so they form a tight, custom fit. This precision fit is what keeps perfume sealed and preserved for decades.
Over time, two things happen inside that tight joint. First, perfume residue slowly evaporates and leaves behind hardened resins and solids. These dried compounds act like glue between the stopper and the bottle neck. Second, at a microscopic level, the glass surfaces can bond together through a process called cold welding or sintering. The longer the bottle sits unopened, the stronger this bond becomes.
Temperature changes during storage also play a role. Glass expands and contracts slightly with heat and cold. If a bottle was stored in a warm place for many years, the dried perfume residue inside the joint may have gone through repeated cycles of softening and hardening, making the seal even tighter.
In some very old bottles, a partial vacuum can also develop inside. As the perfume slowly evaporates through micro gaps over decades, the air pressure inside the bottle drops. This creates a suction effect that holds the stopper down even more firmly. This is why some stoppers seem almost impossible to move, even after you have loosened the dried residue.
Tools and Materials You Will Need Before Starting
Gathering your supplies before you begin prevents rushed decisions that lead to broken glass. You do not need expensive or specialty tools for most methods. Everything on this list is easy to find at home or at a local store.
For the oil and freezer method, you will need cooking oil or pure glycerin, a plastic pipette or cotton swab, a soft cloth, and access to a freezer. Glycerin works especially well because it has a thick consistency that allows it to slowly seep into the joint between the stopper and the neck. This slow movement is sometimes called “creeping,” and it dissolves hardened resins over time.
For heat based methods, keep a hair dryer, warm towels, and a bowl of hot water ready. You will also want ice cubes to cool the stopper while warming the neck. A wooden spoon is essential for any tapping you need to do because wood will not chip or scratch glass the way metal tools will.
For the mechanical approach, two identical butter knives or pocket knife blades work well. A pair of small pliers and a soft cloth for grip are helpful for round stoppers. Rubber jar grippers and silicone grip pads also provide excellent traction without damaging delicate glass.
For the alcohol soak method, you need 90% isopropyl alcohol, a small cup or bowl, and a clean towel. Always keep extra soft cloths, paper towels, and a clean pipette nearby for cleanup once the stopper releases.
Method 1: The Oil and Freezer Technique
This is the most popular and safest method among vintage perfume collectors. It works in roughly 9 out of 10 cases and carries the lowest risk of damage to the bottle or stopper.
Start by taking a plastic pipette or cotton swab and applying a small amount of cooking oil around the joint where the glass stopper meets the bottle neck. Turn the bottle slowly to make sure the oil coats the entire seam evenly. Do not flood the area. A thin, even layer is all you need. Set the bottle aside for 15 to 20 minutes so the oil begins to seep into the joint.
Next, place the bottle upright inside your freezer. A frost free freezer is ideal because it reduces the risk of condensation damaging paper labels. Leave the bottle in the freezer for 20 to 30 minutes. The perfume inside will not freeze because of its high alcohol content, but the glass will contract slightly, loosening the grip between the stopper and the bottle neck.
Remove the bottle and wrap it firmly in a soft cloth at the base. Fold the cloth over the top of the stopper to get a firm grip. Apply steady pressure in a clockwise direction and try to twist the stopper. If the bottle has a fluted neck, pull upward with a very slight twisting motion instead. You may need several attempts.
Pros: Very safe, requires no special tools, works on most bottles, minimal risk of contaminating the perfume.
Cons: Does not work on severely bonded stoppers, oil can drip into the perfume if over applied, requires patience between steps.
Method 2: The Glycerin Creep Method
For extremely stubborn stoppers that resist the basic oil and freezer approach, glycerin offers a slower but more thorough solution. This method is especially effective on bottles that have never been opened and have decades of hardened resin in the joint.
Use a toothpick to draw a very thin line of 100% pure glycerin around the point where the stopper meets the bottle neck. Apply it only to the visible joint, not to the frosted grinding surface below. The goal is to let the glycerin slowly creep into the microscopic gap between the two glass surfaces over the next 24 hours.
After 24 hours, place the bottle in the freezer for one hour. Remove it, wrap the bottle body in a cold cloth, and briefly dip just the neck and stopper into very hot water for 10 to 15 seconds. Then, wearing a nitrile glove on one hand and using a silicone grip pad, gently rock the stopper back and forth in tiny motions. Do not pull upward and do not twist aggressively.
If the stopper does not release on the first cycle, reapply the glycerin and repeat the process. Some collectors report applying glycerin daily for several weeks before the stopper finally gives way. One collector successfully freed a sealed vintage L’Heure Bleue stopper after a full month of daily glycerin application and gentle rocking.
Pros: Extremely safe, dissolves hardened resins effectively, works on bottles that other methods cannot open, preserves perfume quality.
Cons: Very slow process that can take days or weeks, requires daily attention and patience, not practical if you need quick results.
Method 3: The Hot and Cold Contrast Approach
This technique uses the basic physics of thermal expansion and contraction. When you heat the bottle neck and cool the stopper at the same time, the neck expands while the stopper shrinks. This creates a tiny gap that can break the seal.
Start by placing an ice cube directly on top of the stopper. You can use an inverted paper cup to hold it in place. While the ice cools the stopper from above, wrap a towel soaked in hot water around the bottle neck. Make sure the hot towel only touches the neck area, not the stopper itself. Let this setup sit for three to five minutes.
Remove both the ice and the towel. Immediately try to twist or rock the stopper gently. The temperature difference between the cold stopper and the warm neck should have created just enough movement to break the bond. If the stopper does not release on the first try, repeat the process two or three more times.
A hair dryer on the highest heat setting can replace the hot towel. Hold the dryer about two inches from the bottle neck and rotate the bottle slowly, heating each side for about 10 seconds. Keep the heat aimed at the neck, not the stopper. After one full rotation, try to remove the stopper immediately while the glass is still warm.
Pros: Uses no chemicals or oils, fast acting, effective on moderately stuck stoppers, no risk of contaminating the perfume.
Cons: Risk of thermal shock on very old or thin glass, requires careful aim to avoid heating the stopper, condensation can damage labels.
Method 4: The Alcohol Soak Technique
Rubbing alcohol is excellent at dissolving the dried perfume residue that cements a stopper in place. This method works about 95% of the time according to experienced collectors, though it requires patience.
Fill a small cup or bowl with 90% isopropyl alcohol. Turn the perfume bottle upside down and place it in the cup so that the neck and stopper are submerged in the alcohol. Only fill the cup to the level of the bottle neck. Do not submerge the entire bottle because this can damage labels and decorative finishes.
Leave the bottle upside down in the alcohol for at least 24 hours. For severely stuck stoppers, you may need to leave it for two to three days. The alcohol slowly dissolves the hardened perfume resin that has formed between the stopper and the bottle neck. Check on the bottle periodically to make sure the alcohol level has not dropped below the joint.
After soaking, remove the bottle and try to gently twist the stopper. If it still resists, apply a few drops of oil around the joint, use the hot and cold method described above, and then tap gently around the neck with a wooden spoon handle. The combination of soaking followed by heat and tapping is one of the most effective multi step approaches for extremely stubborn stoppers.
Pros: Very effective at dissolving dried resin, simple setup, high success rate, alcohol evaporates cleanly.
Cons: Takes 24 to 72 hours, can damage paper labels if the bottle is submerged too deep, the alcohol may affect delicate bottle finishes.
Method 5: The Gentle Tapping Technique
Tapping is one of the oldest known methods for freeing stuck glass stoppers. A 1916 cigarette card from a “How To Do It” series recommended this exact technique, and collectors still use it today with excellent results.
Lay the bottle on its side on a soft cloth or towel. Using a wooden spoon handle, gently tap all the way around the bottle neck where it meets the stopper. Use only wood, never metal. Metal tools can chip, crack, or shatter the glass. Tap about 10 times in one spot, then rotate the bottle slightly and tap 10 more times. Continue around the entire neck.
The tapping creates tiny vibrations that break the microscopic bonds holding the stopper in place. These vibrations travel through the glass and disrupt both the sintered glass bonds and the dried resin seal. After several rounds of tapping, try to remove the stopper with a gentle twisting motion.
For a more controlled vibration, you can use an electric toothbrush or an electric razor. Press the vibrating body of the device against the bottle neck and slowly move it around the joint. The consistent, rapid vibration can be more effective than manual tapping because it delivers thousands of tiny impacts per minute.
Pros: Simple and requires minimal tools, no chemicals or oils that could contaminate perfume, works well in combination with other methods.
Cons: Risk of cracking thin or delicate glass if you tap too hard, requires a light touch and patience, less effective on its own for severely stuck stoppers.
Method 6: The Two Knife Lever Method
This mechanical method was developed by a vintage perfume collector’s husband and has proven highly effective on ground glass stoppers that resist gentler approaches. It requires confidence and a smooth, decisive motion to avoid chipping the stopper.
You need two identical butter knives or two identical pocket knife blades. Have someone hold the bottle steady on a flat surface. Position the two blade edges on opposite sides of the bottle, exactly 180 degrees apart. Nestle each blade edge right at the junction where the stopper meets the bottle neck. The handles of the two knives should point in opposite directions.
In one quick, firm, and even motion, push up on one knife handle while simultaneously pushing down on the other. This creates a levering force that pops the stopper free, usually on the first try. The motion must be smooth and confident. Hesitating or applying uneven pressure can crack or chip the stopper.
Before attempting this method, wrap the top of the stopper in tape or soft cloth. The stopper can fly off the bottle when it releases, and you do not want it landing on a hard floor. This method has never damaged a bottle for the collector who invented it, but it does carry more risk than the oil, freezer, or glycerin approaches.
Pros: Very fast, often works on the first try, effective on stoppers that resist other methods.
Cons: Higher risk of chipping or snapping the stopper, requires two people and precise coordination, not recommended for delicate or extremely old bottles.
Method 7: The Combined Multi Step Approach
When individual methods fail, combining them in the right sequence gives you the highest chance of success. This approach was tested on five vintage Baccarat and Lalique crystal stoppers, including one that was 90 years old, and it opened every single one.
Start by soaking the bottle upside down in a cup of 90% isopropyl alcohol for 24 hours. Fill the cup only up to the bottle neck. This first step dissolves dried perfume residue in the joint. After 24 hours, remove the bottle and apply a thin ring of oil around the edge where the stopper meets the neck.
Next, take a hair dryer on the highest heat setting and slowly heat the bottle neck. Hold the dryer on each side for about 10 seconds, making a full rotation around the neck. Aim the heat at the bottle neck, not the stopper. The goal is to expand the neck while the stopper remains at room temperature.
Immediately lay the bottle on its side and tap all the way around the neck with a wooden spoon handle. Tap 10 times in one spot, rotate slightly, and repeat around the entire neck. The stopper should slip right out on its own. Have a bowl or plate under the bottle to catch any liquid that spills when the stopper releases.
Pros: Highest overall success rate, addresses both chemical bonding and mechanical adhesion, proven on valuable antique bottles.
Cons: Most time consuming method, requires overnight soaking, uses multiple supplies, risk of perfume spilling during tapping.
Method 8: The Pliers and Cloth Grip for Small Round Stoppers
For smaller bottles with round stoppers, such as vintage Poison or miniature perfume flacons, a gentle grip method works well. This is one of the simplest approaches and is worth trying before any other method because of how little time and preparation it requires.
Wrap the stopper top completely in a soft, thick cloth. Grip the cloth covered stopper with a small pair of pliers. Do not apply strong squeezing pressure to the pliers. You only need enough grip to turn the stopper, not enough force to crush it. Gently turn the stopper back and forth in small rocking motions.
A rubber jar opener or silicone grip pad can replace the pliers for even safer handling. These flexible grippers conform to the stopper shape and distribute pressure evenly across the glass surface. They also reduce the chance of applying too much force in one spot.
If the stopper begins to move even slightly, continue the gentle rocking motion while gradually increasing the range of the twist. Once you feel the stopper break free from its sealed position, switch to a slow pulling motion to remove it completely. Keep the cloth wrapped around the stopper until it is fully out of the bottle.
Pros: Quick setup, very easy to do alone, works well on small bottles, minimal supplies needed.
Cons: Risk of snapping the stopper if too much torque is applied, only works on bottles where the stopper protrudes enough to grip, not effective on deeply recessed or flush stoppers.
What To Do If the Stopper Breaks Off
Despite your best efforts, sometimes a stopper snaps at the neck during removal. This is the most common accident with stuck vintage perfume stoppers, and it leaves the decorative top in your hand with a glass plug still lodged inside the bottle neck.
Do not panic. The perfume inside is still safe and can be saved. If there is enough of the broken stopper protruding above the neck, you may be able to grip it with padded pliers and gently work it out. Apply a few drops of oil around the broken edge first to help lubricate the remaining piece.
If the broken stopper is flush with or below the bottle neck, you will need a more advanced approach. One option is to carefully drill through the glass plug using a small masonry drill bit designed for glass. Build a small wall of silicone putty around the drill area and fill it with light machine oil to cool and lubricate the bit. Drill slowly and patiently to avoid contaminating the perfume.
Once you break through, you can decant the perfume through the drilled hole into a clean container. The bottle can then be displayed at about 99% intact. This last resort method should only be used when all other extraction attempts have failed and the perfume inside is valuable enough to justify the effort.
How To Prevent Your Stopper From Getting Stuck Again
Once you successfully free a stopper, taking a few preventive steps saves you from repeating the entire process later. The most important habit is to clean the stopper and bottle neck thoroughly every time you open the bottle.
Wipe the ground glass surfaces of both the stopper and the bottle neck with a soft cloth after each use. Dried perfume residue is the number one cause of stuck stoppers, so removing it while it is still fresh prevents the cement like bond from forming.
Apply a very thin film of pure, food grade glycerin or a tiny amount of petroleum jelly to the ground glass joint before reinserting the stopper. This creates a barrier that prevents the two glass surfaces from bonding directly. It also keeps dried perfume residue from hardening in the joint.
Store your vintage perfume bottles in a cool, stable temperature environment. Avoid storing them in attics, garages, or near windows where temperature fluctuations are common. Repeated heating and cooling cycles cause dried residue to harden further and can accelerate glass sintering. A dark cabinet or shelf in a climate controlled room is ideal.
Open your vintage perfume bottles periodically, even if you are not using the fragrance. Rotating the stopper every few weeks prevents the glass from settling and bonding. A bottle that is handled regularly is far less likely to develop a stuck stopper than one that sits untouched for years.
Common Mistakes That Damage Vintage Perfume Bottles
Knowing what not to do is just as important as knowing the correct methods. The biggest mistake is using brute force. Pulling or twisting too hard on a stuck stopper almost always results in a snapped stopper, a chipped neck, or both.
Never use metal tools directly on glass. Metal hammers, screwdrivers, and knife blades can chip, crack, or scratch antique glass instantly. Always use wood for tapping and always wrap the stopper in cloth before applying any grip tool. Even a small chip can reduce the value of a vintage bottle dramatically.
Do not heat the entire bottle with boiling water or a flame. Thermal shock can crack old glass without warning. Thin, antique glass is especially vulnerable. Always apply heat only to the neck area and keep the rest of the bottle at room temperature.
Avoid rushing the process. Many collectors damage their bottles because they lose patience after one failed attempt and escalate to more aggressive methods too quickly. The safest approach is always to start with the gentlest method and work your way up gradually. Give each technique at least two or three proper attempts before moving on.
Do not submerge the entire bottle in any liquid. Paper labels, gilded decorations, and painted surfaces can be destroyed by prolonged contact with water, alcohol, or oil. Always protect these elements by limiting liquid contact to the neck and stopper area only.
When To Seek Professional Help
Some vintage perfume bottles are simply too valuable or too delicate for at home removal attempts. If your bottle is a rare antique, a signed Lalique or Baccarat piece, or worth several hundred dollars or more, consider consulting a professional before trying anything yourself.
Antique glass restorers and conservators have access to specialized tools and techniques that are not practical for home use. They can apply controlled vibration, precision heat, and chemical solvents that are calibrated for specific types of glass. A professional can also assess the condition of the glass before starting, identifying hairline cracks or weak points that could lead to breakage during removal.
Auction houses that specialize in vintage perfume bottles often have in house experts or can recommend trusted restorers. Online perfume collector communities are also a great resource for finding professionals who have experience with specific bottle types and eras.
The cost of professional restoration is almost always less than the loss in value from a damaged antique bottle. A chipped neck or broken stopper can reduce a bottle’s value by 50% or more. If you have any doubt about your ability to safely open a bottle, the smart choice is to get expert guidance first.
How To Tell If Your Vintage Perfume Is Still Good After Opening
Once the stopper is finally out, you will naturally want to know whether the perfume inside is still worth wearing. Vintage perfume that has been properly sealed in a glass stopper bottle can remain remarkably well preserved for decades.
Give the fragrance time to breathe after first opening. A bottle that has been sealed for 30 or 40 years needs exposure to oxygen before it reveals its true scent. Place the open bottle in a cool, dark cupboard for 24 to 48 hours. The initial aroma may be faint, sharp, or slightly off, but this often changes dramatically after the perfume has had time to interact with fresh air.
Examine the color of the liquid. Most vintage perfumes darken slightly over time, which is normal. A light amber or golden shift does not indicate spoilage. However, if the perfume has turned very dark brown, has visible particles floating in it, or smells strongly of vinegar or rancid oil, it has likely degraded beyond use.
Test the perfume on a small area of skin before applying it generously. Vintage fragrances can contain ingredients that are no longer used in modern perfumery, and skin sensitivities may have changed over the years. A small test patch on the inside of your wrist is the safest way to check both the scent and your skin’s reaction.
How long should I leave a vintage perfume bottle in the freezer?
Place the bottle in the freezer for 20 to 30 minutes. The glass will contract slightly during this time, which helps loosen the stopper. Do not leave it for more than an hour, as prolonged freezing can stress delicate antique glass. The perfume inside will not freeze because of its alcohol content. Remove the bottle and attempt to twist the stopper immediately while the glass is still cold.
Can I use WD 40 to free a stuck perfume stopper?
WD 40 is effective on laboratory glass stoppers, but it is not recommended for perfume bottles. The petroleum based chemicals in WD 40 will contaminate the perfume inside the bottle. Use food grade cooking oil, pure glycerin, or isopropyl alcohol instead. These options dissolve dried residue and lubricate the joint without ruining the fragrance.
What is the safest first method to try on a valuable vintage bottle?
The oil and freezer technique is the safest starting point. Apply a thin layer of cooking oil around the stopper joint, wait 15 to 20 minutes, then place the bottle in the freezer for 20 to 30 minutes. Remove it and gently twist. This method carries the lowest risk of glass damage and perfume contamination.
Why does my stopper keep getting stuck after I open it?
Dried perfume residue builds up on the ground glass surfaces every time the bottle is opened and closed. Clean the stopper and neck with a soft cloth after each use. Apply a tiny amount of glycerin or petroleum jelly to the ground glass joint before reinserting the stopper. Store the bottle in a cool, temperature stable location.
Is it safe to tap the stopper with a hammer?
Never use a metal hammer directly on a glass stopper. The impact can crack or shatter the glass instantly. Use a wooden spoon handle instead and tap gently around the bottle neck, not the stopper itself. The vibrations from wood are strong enough to break adhesion bonds without risking glass damage.
Should I twist or pull the stopper when trying to remove it?
This depends on the bottle design. For bottles with ground glass stoppers that sit in a cylindrical neck, twist gently in a clockwise direction. For bottles with fluted or tapered necks, pull upward with a very slight rocking motion. Never yank or apply sudden force. Slow, steady pressure combined with gentle rocking is always safer than a single hard pull.
Hi, I’m Lily! I started this blog to share honest reviews, real comparisons, and helpful guides so you can find your perfect scent without the guesswork. Welcome to my scented world!